We’d better struggle for the future rather than regret for the past.
如果后悔过去,不如奋斗将来
使用教程:

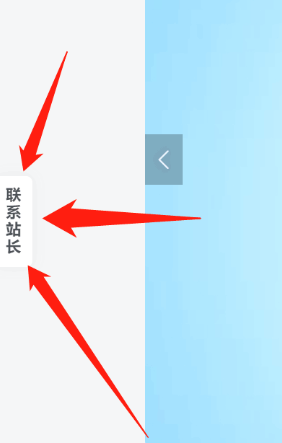
也很简单,只需要在两个文件中添加一行代码就可以实现,具体演示效果可以查看本站觅知博客的效果
1、后台主题设置—>自定义代码—>自定义 CSS 样式代码把下面的代码添加到里面
自定义 CSS 代码:
/*左边联系站长 css 开始*/
.contact-help{position: fixed; z-index: 101; left: 0; top: calc(50% - 30px); margin-top: -36px; width: 28px; height: 72px; transition: all .3s; font-size: 12px;background: var(--main-bg-color);border-radius: 0 5px 5px 0; padding: 8px 7px; line-height: 14px;}@media screen and (max-width: 768px){.contact-help{display:none;}}
/*左边联系站长 css 开始*/
/*左边联系站长 css 开始*/
2、在主题目录下 themes/zibll/footer.php 下,添加下面的 PHP 代码:
PHP 代码:
<!--左侧联系站长-->
<a href="http://wpa.qq.com/msgrd?v=3&uin=931106824&site=qq&menu=yes" target="_blank" class="contact-help main-shadow"  style="font-weight:700;" />联系站长</a>
说明:PHP 代码的 HTML 代码内容、链接,可自行修改。

感谢您的来访,获取更多精彩文章请收藏本站。

© 版权声明
THE END


暂无评论内容